Candidates are at the heart of the Octavia CRM, and we’ve tried to make the creation process as quick and simple as possible.
The Create Candidate Screen
To access the creation screen, first click the candidates icon in the top navigation bar:

Then, click the first button in the actions section, just underneath the top navigation bar:

Creating from a CV
The simplest way to create a candidate is to begin with a CV, and let the Octavia parser extract as much information as possible for you:
Manual Entry
When you don’t have a CV, or on the rare occasions that the parser doesn’t return most of your fields, you can quickly enter them manually. The screen is separated into a candidate’s personal details:
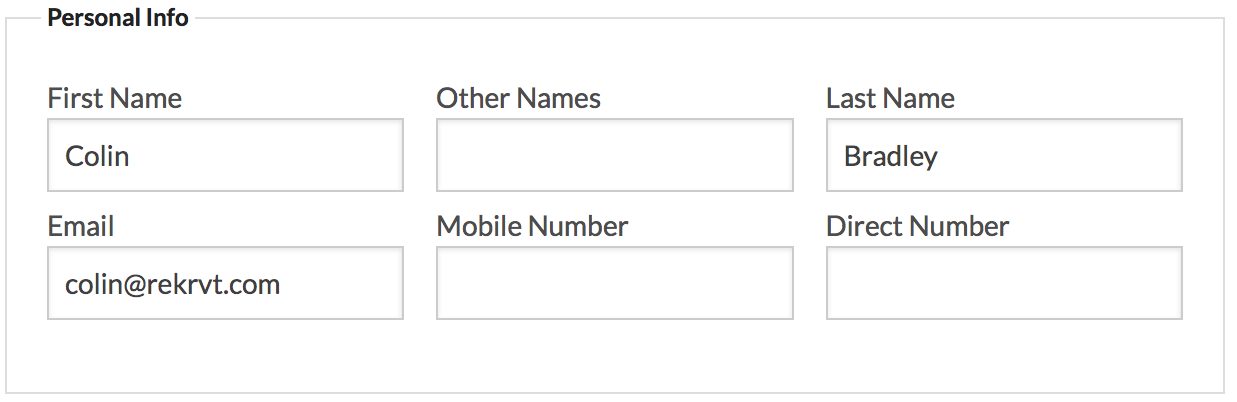
Unless it has been explicitly disabled, e-mail and first name are required fields.
The remaining fields are dependent on your configuration, but typically include the “owning” consultant, and fields like employer and source:
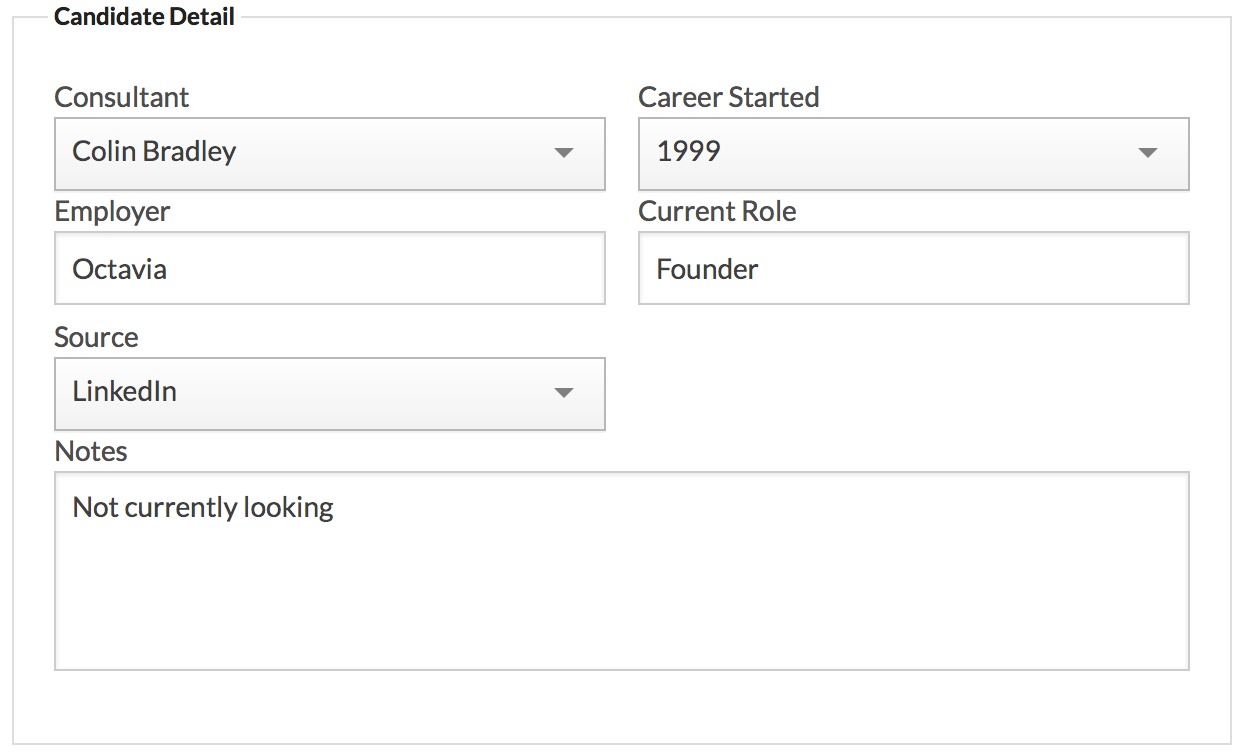
If the field is configured as a dropdown, you can quickly navigate the dropdown by typing the first few letters of the required value.
Most other fields will be configured as “suggestion” fields – if you begin typing a value, existing values from other candidates will be provided as optional suggestions.
Social Profiles
The final section allows you to add any social profiles for a candidate (e.g. their LinkedIn link, blog or website etc):
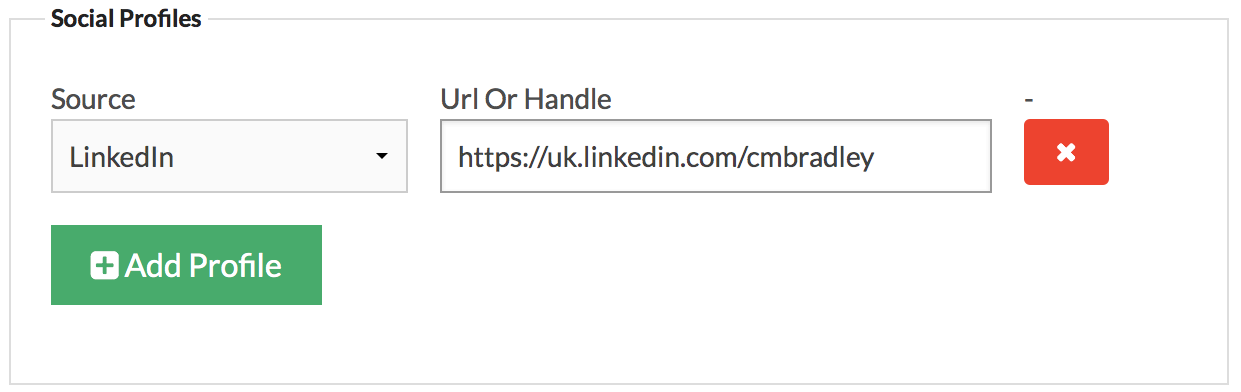
You can add new rows by clicking the “Add Profile” button, and remove rows by clicking the red x button.
Saving and Errors
When you’ve entered all the fields, click the “Create Candidate” button; if there are no errors, you will be taken to the candidate view, but if there are any errors, the form will reappear with any issues in red:
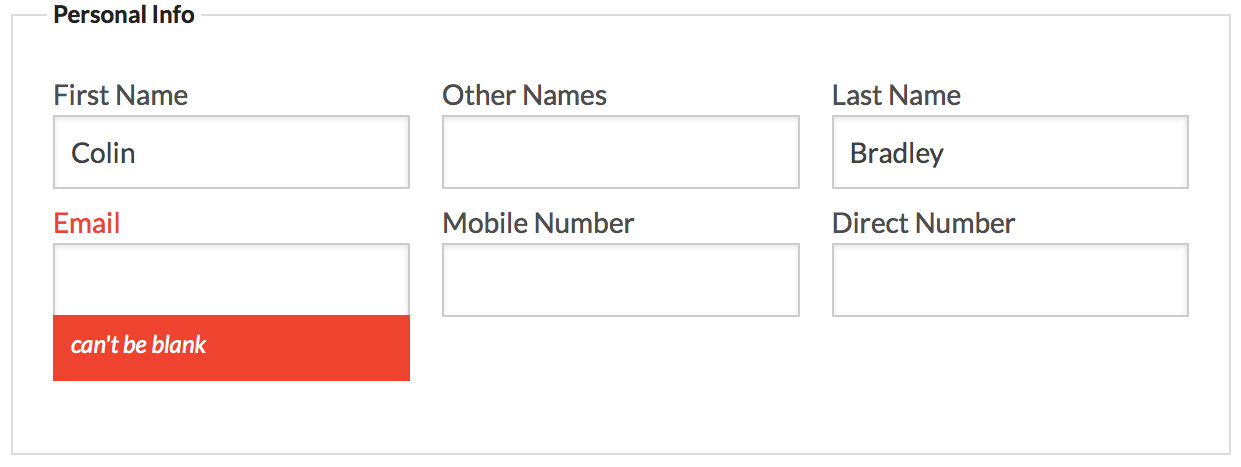
Once these are corrected, you just need to click the “Create Candidate” button again, and your candidate will be created.