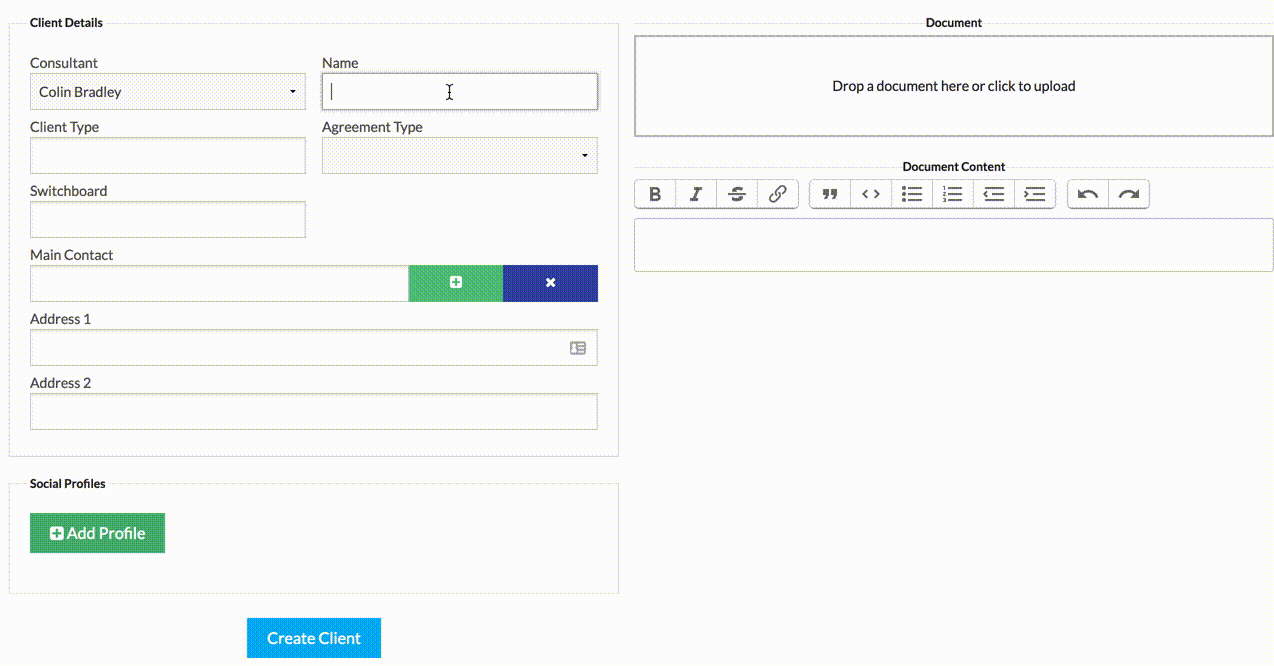
A client represents a customer with whom you have a business relationship with, and one needs to exist before you can add a role to the CRM. As with all other records, it has been designed to be as simple as possible to create a client.
The Create Client Screen
To access the creation screen, first click the clients icon in the top navigation bar:

Then, click the first button in the actions section, just underneath the top navigation bar:

Manual Entry
A client must have a unique name, and a main contact record, but the remaining fields will be dependent on your configuration.
The main contact record is an autocomplete-or-create field; that is, if the contact already exists in the CRM, you can search on their name, otherwise you can click the plus button to the right to create a new contact record.
Social Profiles
This section allows you to add any social profiles for a client (e.g. their homepage, LinkedIn company URL, Facebook URL etc):
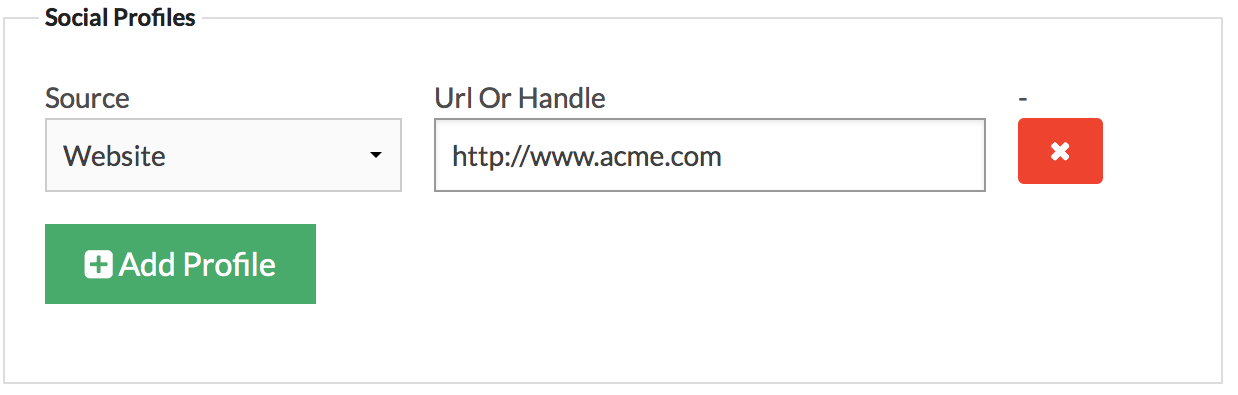
You can add new rows by clicking the “Add Profile” button, and remove rows by clicking the red x button.
Adding Documents
On the right hand side of the screen is an area where you can either copy and paste document data into a text box, or attach a file (which will be processed and the content rendered into the text box).
Note: if you have multiple documents, add the primary document here and add other documents in the documents area once the new client is saved.
Walkthrough
Here’s a quick animation of a client creation using an example configuration:
Saving and Errors
When you’ve entered all the fields, click the “Create Client” button; if there are no errors, you will be taken to the client view, but if there are any errors, the form will reappear with any issues in red:
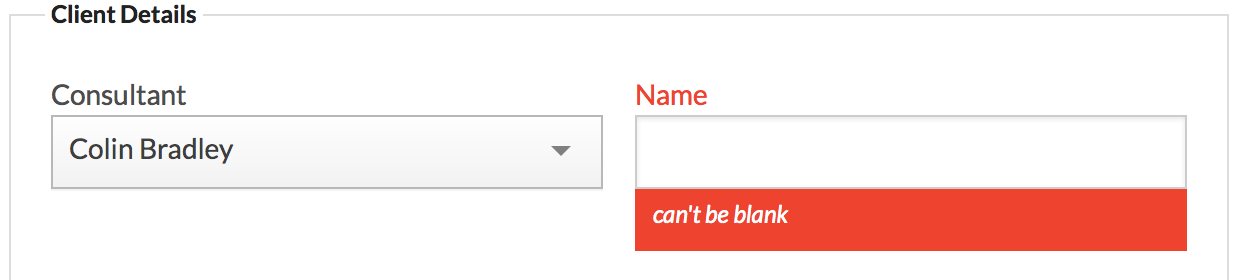
Once these are corrected, you just need to click the “Create Client” button again, and your client will be created.