A role (also known as a job, or a requirement), is an item of work in the CRM – it holds the specification for the role that is to be filled, and is designed to be as simple as possible to create.
The Create Role Screen
To access the creation screen, first click the candidates icon in the top navigation bar:

Then, click the first button in the actions section, just underneath the top navigation bar:

Creating from a Specification
We’re currently working on improving the Octavia parser to extract all the necessary detail from a role specification document, but until that’s completed, manual entry is still simple and painless.
Manual Entry
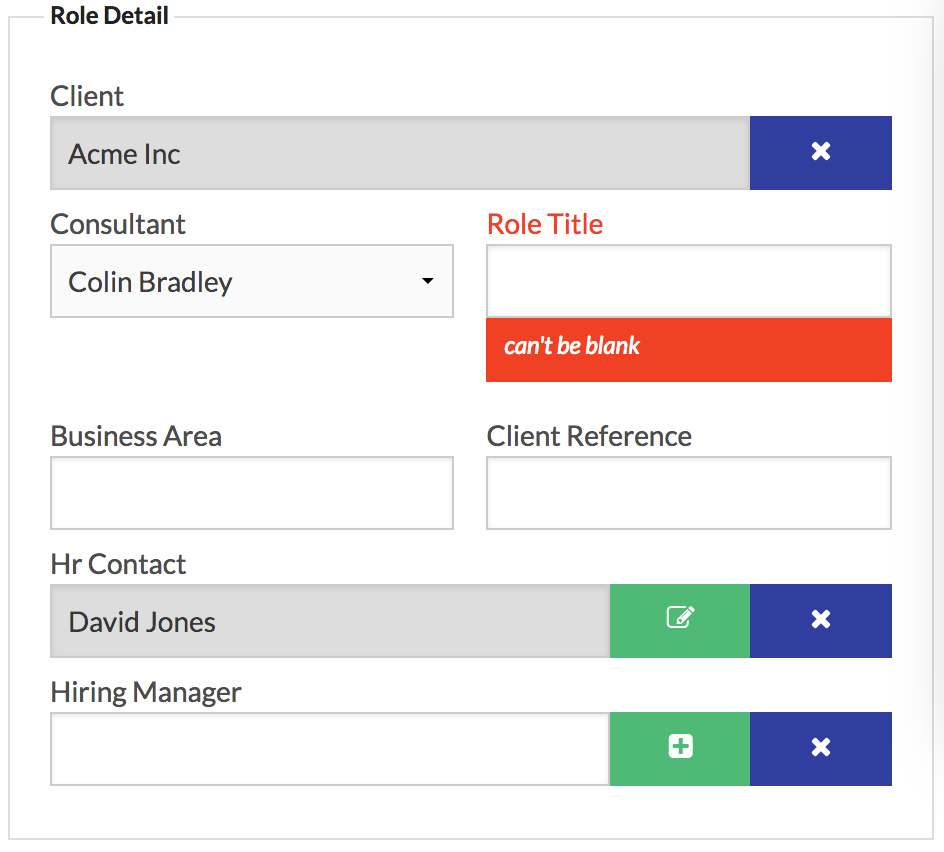
The role entry screen is a simple one – the detail for the role on the left, and a document section to the right; the specific fields will be dependent on your configuration, but a role must be linked to a client record, and must have either an HR Contact or Hiring Manager.
The client field is a search-and-autocomplete field: type the first few characters and then select the client from the list.
Hiring Manager and HR Contact are similar, but allow you to create a new record if one doesn’t exist already: if you wish to search, type the terms in the field, otherwise click the plus button to the right and enter the new details.
Saving and Errors
When you’ve entered all the fields, click the “Create Role” button; if there are no errors, you will be taken to the role view, but if there are any errors, the form will reappear with any issues in red:
Once these are corrected, you just need to click the “Create Role” button again, and your role will be created.