If you find yourself sending similar emails to lots of your contacts, setting up a template in Octavia CRM and using that to send your messages could save you a lot of time.
Please note that to use email tools within the CRM, your administrator will need to have enabled email integration and you need to have linked your email account with the system.
Creating a Basic Template
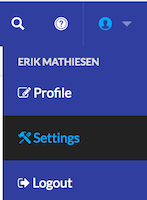
The message templates screen lives within the settings area, so to view and create templates, navigate to the settings screen by hovering over the user icon in the top right, and clicking “Settings”:
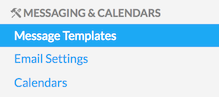
Inside settings, the templates area lives under Messaging & Calendars:
This screen shows you your list of active templates:

Let’s create a template, by clicking the Create link in the top right: in this screen we can give the template a name, write the subject for the email, and then add the content. The dropdown to the right dictates which set of variables we’ll see – these will depend on what fields you have available, but if you are making a candidate email template, choose Candidate here. You can then click a variable anytime you want to insert it into the template like below:
Using a Template
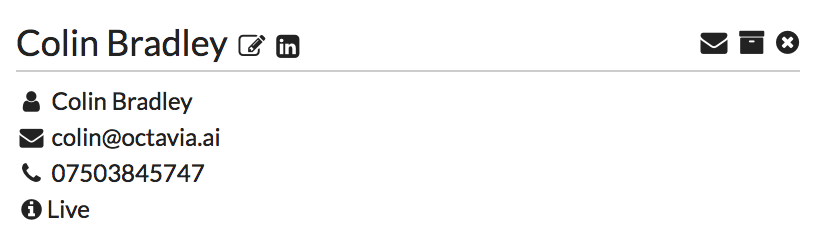
There are two main ways to use a template – one is in an Email Campaign, and the other is in a single email from the system: we’ll use the latter as it gives us immediate feedback on our template. To send an email to a candidate, we just need to view a candidate profile, and click on the envelope icon to the right of their name:
This brings up a new window where we can choose a template, and you’ll notice that all the variables are automatically replaced – then we can send our message with one click!
Note
Always check that a candidate has details for all the fields you use in the message template – nothing says “automated email” better than a missing field! Using the above method of creating an email from a candidate is a great way to sanity check a template as it automatically fills in the fields, and you’ll see any missing data immediately.