There are several ways to create a workflow card, let’s look at each of them in turn:
From a Candidate Profile – Shortlist
If you have previously shortlisted a candidate for a role, the simplest way to progress this to a workflow is to grab the handle on the shortlist, drag it to the workflows section, and drop it in:
From a Candidate Profile – Direct
If you haven’t shortlisted a candidate for a role previously (or your administrator has removed the shortlisting function), you can just create a workflow directly: click the + icon next to the workflows section title, and in the box provided you can search for a role by any of the: Role Identifier, Client Name, Role Title or Hiring Manager Name: once you’ve found the right role, click the Add button:
From a Role View – Shortlist
Similar to the candidate profile, if you are viewing a role and have previously shortlisted a candidate, you can drag and drop the shortlist item into the workflow section:
From a Role View – Direct
Again similar to the candidate view, if you haven’t shortlisted the candidate, or if shortlisting is disabled, you can search for the candidate by name and click the Add button:
From a Shortlist View – Bulk/Single
The final way to create workflows is potentially the most efficient if you find yourself shortlisting multiple candidates for a role and then progressing a number of them to workflow at the same time.
Once you have shortlisted a number of candidates, navigate to the Lists screen, and find your shortlist for this role among any other lists you have. If you click on this you will see a list of all the candidates shortlisted for the role:
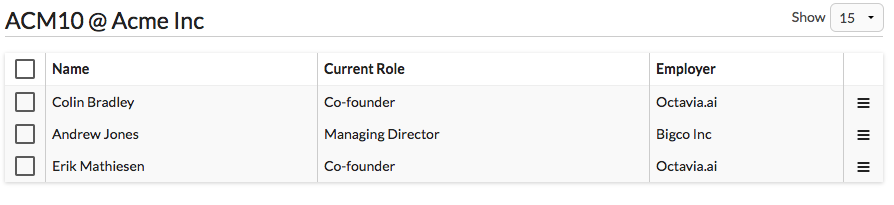
From here you can move any single candidate to a workflow by clicking the menu icon to the right of the candidate:
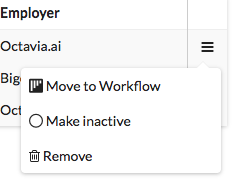
You can also select multiple candidates by checking the boxes to the left (the checkbox in the top left, in the table header, will select all); to progress all the checked candidates to the first workflow stage, use the menu in the top right (in the table header):